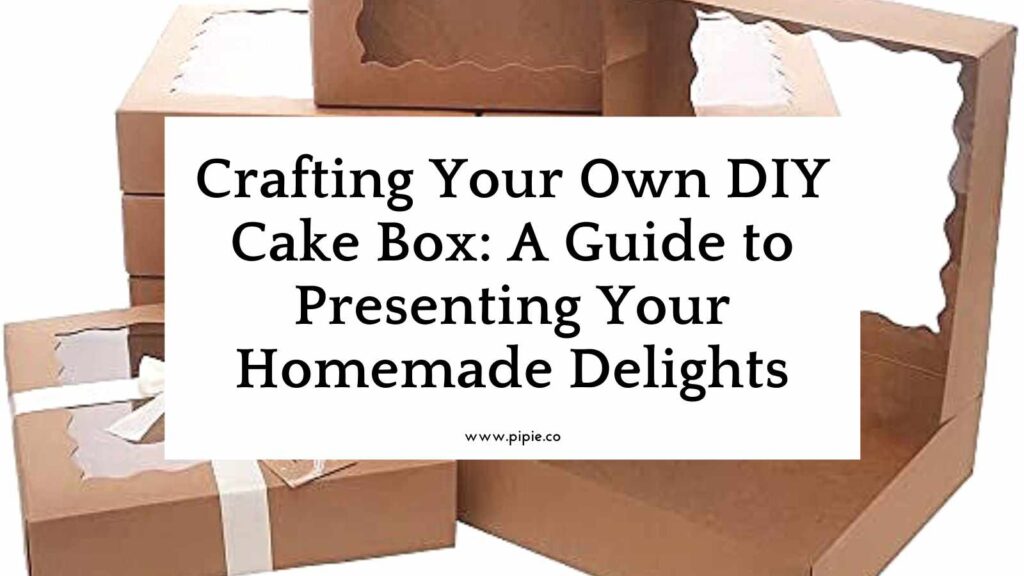
Baking a cake is a labor of love, and presenting your masterpiece in an equally appealing manner adds an extra touch of charm and thoughtfulness. Creating your own DIY cake box allows you to personalize the packaging and make your gift or homemade treat even more special. Follow these simple steps to craft a custom cake box that will showcase your baking prowess in style.
Materials Needed:
– Cardstock paper or thick craft paper
– Ruler – Pencil
– Scissors
– Adhesive (glue, double-sided tape, or a glue gun)
– Decorative elements (ribbons, stickers, markers, etc., for embellishments)
Instructions:
1. Determine the Box Size:
Measure the dimensions of your cake to determine the appropriate size for the box. Consider the height, width, and length of the cake to ensure a proper fit. Add an extra inch or two to each dimension to allow for a comfortable fit and ease of closure.
2. Create the Template:
Using a ruler and pencil, draw the template for your cake box on the cardstock paper. You will need two identical shapes for the base and lid of the box and four rectangular strips for the sides. –
Base and Lid:
Draw two squares or rectangles (depending on the shape of your cake) that match the dimensions of the base and lid. Cut these out carefully.
Side Strips:
Draw four strips of the same height as the base and lid rectangles. The length of these strips will be determined by the perimeter of the base and lid shapes. Make sure to add tabs at the ends of each strip for easy assembly.
3. Cut Out the Pieces:
Using scissors, cut out the base, lid, and side strip shapes along the drawn lines. Ensure clean and precise cuts to make assembling the box easier.
4. Fold and Score:
Using a ruler as a guide, fold along the lines where the sides of the box will be. Use the back of the scissors or a scoring tool to create crisp fold lines. This will help the box edges to fold neatly and symmetrically.
5. Assemble the Box:
Begin by assembling the base of the box. Apply adhesive to the tabs and secure the side strips to the base, forming the walls of the box. Repeat this process for the lid.
6. Decorate and Personalize:
Once the box is assembled, unleash your creativity! Decorate the exterior with ribbons, stickers, hand-drawn designs, or any other embellishments that suit your style. Add a personal touch by writing a heartfelt message or the cake flavor on the box.
7. Place Your Cake Inside:
Gently place your beautifully baked cake inside the box. Ensure that it fits snugly but isn’t too tight, allowing for easy removal.
8. Close and Present:
Finally, close the lid of the box securely. Your homemade cake is now elegantly packaged and ready to be presented to your lucky recipient or showcased at an event.
Crafting a DIY cake box adds a special touch to your baked creations and showcases your attention to detail. Let your imagination run wild as you personalize the box to match the occasion or recipient, making your homemade treat even more delightful.
Now, share your homemade delights with pride, knowing that your cake not only tastes amazing but is beautifully presented too! Enjoy creating your personalized DIY cake box and sharing your delicious cakes in style!


