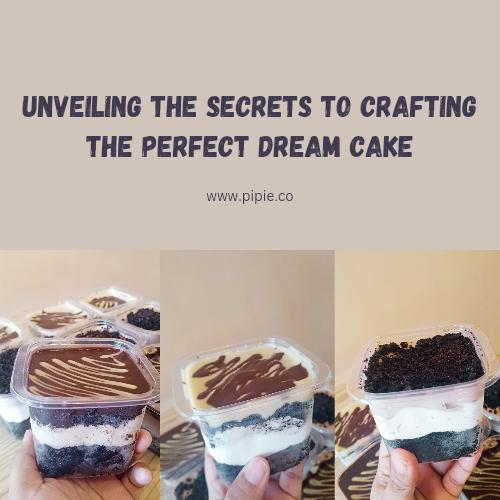
Few desserts evoke the same level of delight and whimsy as a perfectly crafted dream cake. A symphony of flavors, textures, and creativity, this delectable treat is a canvas for imagination and indulgence. Whether it’s for a special occasion or a simple craving for sweetness, creating your dream cake is an art form that promises to elevate your baking skills and satisfy your taste buds. Here’s a step-by-step guide to help you bring your dream cake to life:
1. Choose Your Flavors:
Begin by envisioning the flavor profile of your dream cake. Consider combinations like chocolate and raspberry, vanilla bean and strawberry, or even unconventional pairings like lavender and lemon. The key is to balance flavors harmoniously.
2. Select the Base:
Determine the cake base that aligns with your envisioned flavors. Whether it’s a classic vanilla sponge, a rich chocolate cake, or a moist red velvet, the foundation sets the stage for the rest of your creation.
3. Frosting and Fillings:
Experiment with different frostings and fillings to complement your cake. Creamy buttercream, velvety ganache, or light and airy whipped cream can all add layers of taste and texture.
4. Get Creative:
Let your imagination run wild with decorative elements. Fresh fruits, edible flowers, chocolate shavings, or sprinkles can add visual appeal and a burst of flavors.
5. Technique Matters:
Pay attention to baking techniques. Ensure your cakes are evenly baked, leveled, and cooled before frosting to avoid any structural mishaps.
6. Assemble with Care:
When layering your cake, spread a thin layer of frosting between each tier for balance and flavor distribution. Use a turntable and offset spatula for a smooth finish.
7. Chill and Set:
After assembling, chill the cake in the refrigerator for at least 30 minutes. This helps the layers to set and makes frosting easier.
8. Final Touches:
Once chilled, apply a thin layer of frosting called a crumb coat to seal in any loose crumbs. Then, frost the cake generously for a polished look.
9. Personalize It:
Add personal touches or decorations that resonate with your vision—a message piped in icing, fondant figures, or a thematic design.
10. Patience is a Virtue:
Allow your masterpiece to rest in the refrigerator for a while before serving. This allows the flavors to meld together for a more cohesive taste.
11. Savor and Share:
Finally, cut a slice, admire your creation, and savor each bite. Share your dream cake with loved ones and revel in the joy it brings.
Remember, making the perfect dream cake is not just about the final product; it’s about the joy of the process, the creativity, and the smiles it brings. Don’t be afraid to experiment, embrace imperfections, and most importantly, have fun in your baking journey. With these steps as your guide, you’re well on your way to crafting the dream cake of your fantasies.
Happy Baking!


