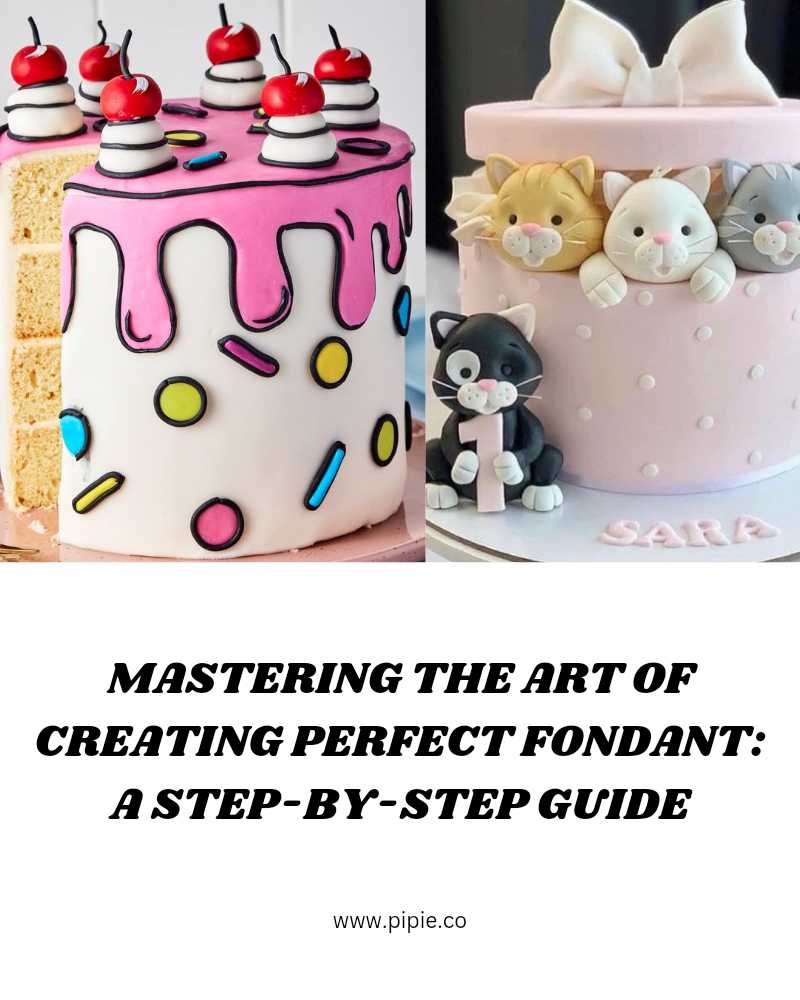
Introduction:
Fondant, the versatile and pliable icing, has become a favorite among bakers and cake decorators for its smooth, polished finish and endless creative possibilities. However, mastering the art of making the perfect fondant requires precision, patience, and a few insider tips. In this comprehensive guide, I’ll walk you through the step-by-step process to create flawless fondant for your baking masterpieces.
Step 1: Gather Your Ingredients and Tools
Before you begin, ensure you have all the necessary ingredients and tools at your disposal. You’ll need confectioners’ sugar (powdered sugar), gelatin, water, glycerin (optional), flavoring extracts (if desired), a heavy-bottomed saucepan, a mixing bowl, a spatula, and a clean work surface lightly dusted with powdered sugar.
Step 2: Soften Gelatin and Prepare the Mixture
Start by softening gelatin in water according to the package instructions. Once softened, gently heat the mixture in a saucepan over low heat until the gelatin dissolves completely. Avoid boiling; instead, aim for a smooth, clear liquid.
Step 3: Mix Gelatin Mixture with Confectioners’ Sugar
In a large mixing bowl, gradually add confectioners’ sugar to the warm gelatin mixture. Stir continuously with a spatula until the ingredients combine into a thick paste. As the mixture thickens, knead it on a powdered sugar-dusted surface until it becomes a smooth and elastic dough-like consistency.
Step 4: Add Flavoring and Glycerin (Optional)
To enhance the taste and texture of your fondant, consider adding a few drops of your preferred flavoring extract at this stage. Additionally, glycerin can be incorporated to improve elasticity and moisture retention in the fondant. Knead these optional ingredients thoroughly into the fondant until well combined.
Step 5: Rest and Store the Fondant
Once your fondant is thoroughly kneaded and smooth, wrap it tightly in plastic wrap or store it in an airtight container to prevent drying. Allow the fondant to rest at room temperature for at least 12-24 hours before using it. This resting period allows the fondant to mature and attain the desired pliability for rolling and decorating cakes.
Step 6: Roll Out and Decorate
After the resting period, your fondant is ready to be rolled out and used for decorating cakes, cupcakes, or pastries. Ensure your work surface is clean and dusted with powdered sugar to prevent sticking. Use a rolling pin to achieve the desired thickness and carefully drape the fondant over your cake for a flawless finish.
Conclusion:
Mastering the art of creating perfect fondant requires practice, attention to detail, and a willingness to experiment with flavors and textures. By following these step-by-step instructions, you’ll be on your way to crafting beautifully decorated cakes and confections that will impress and delight anyone with your newfound fondant expertise. Remember, practice makes perfect, so don’t be afraid to experiment and have fun with your fondant creations!


